Photography Lighting workshop
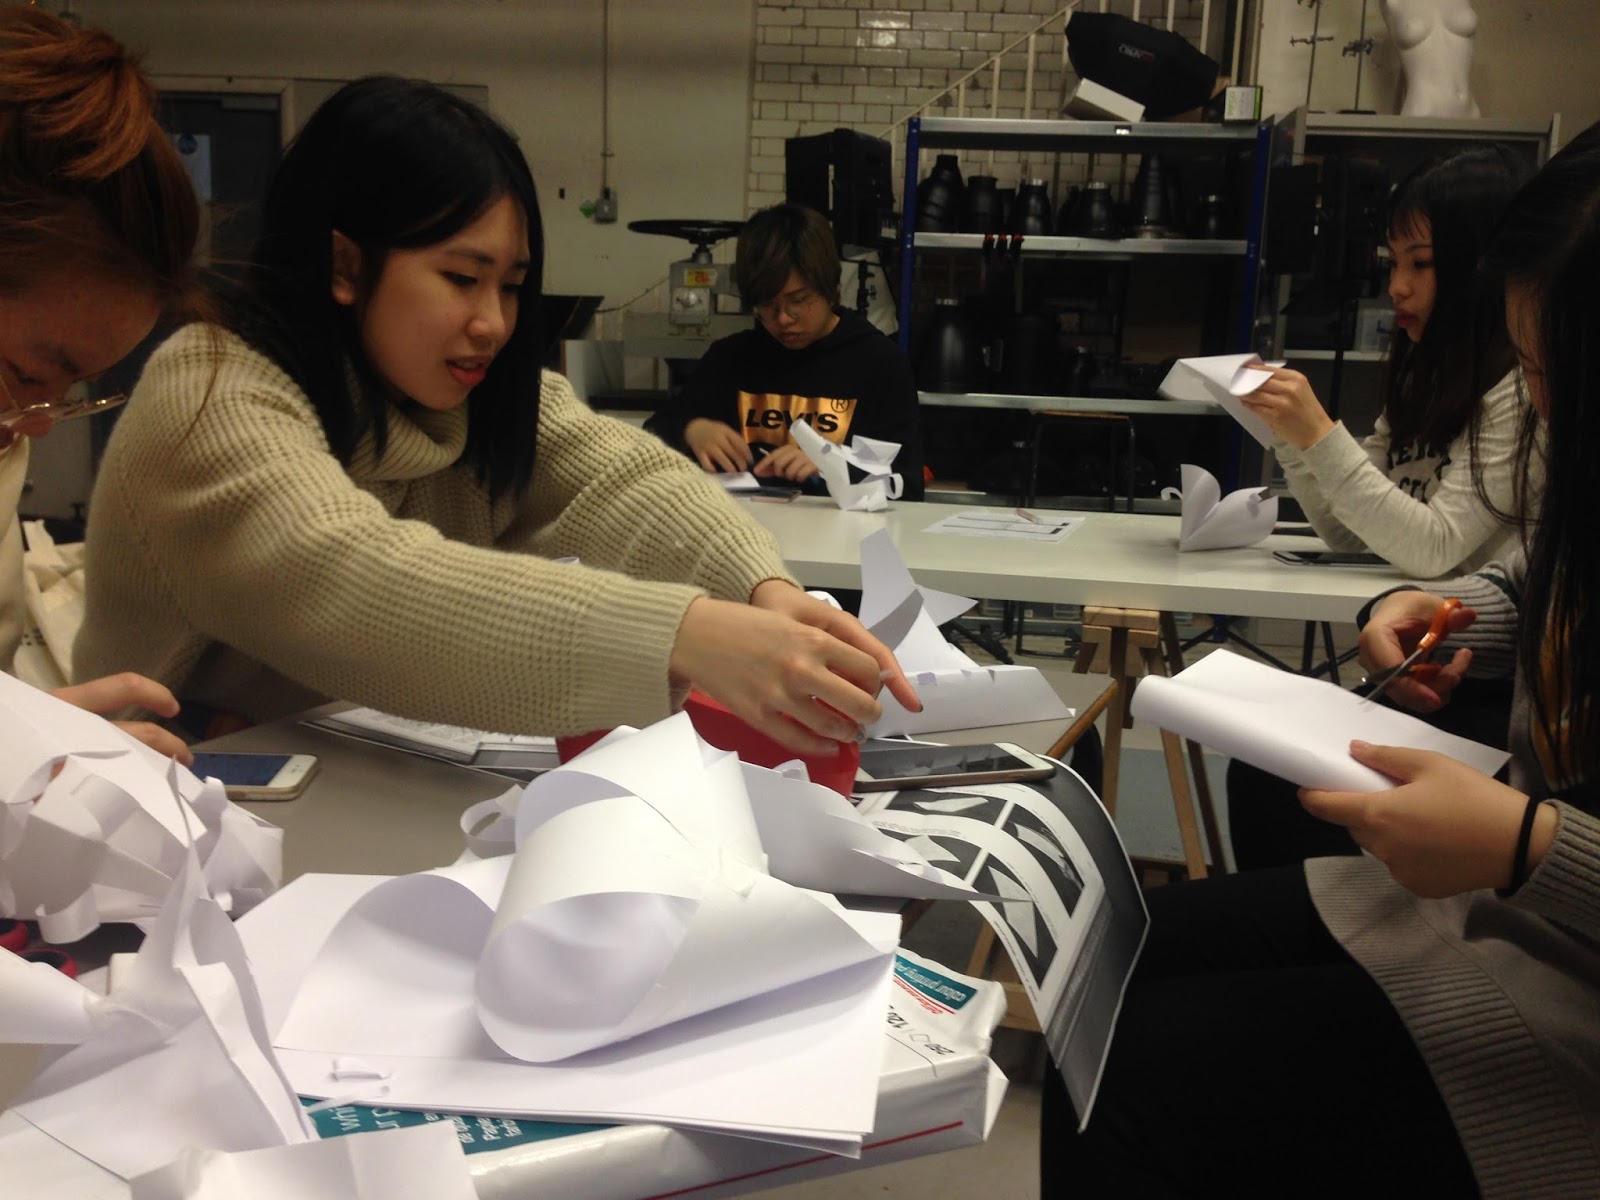
We started by folding some shapes with paper that could show the direction of light.

There's this large light panel which we should adjust the intensity of the light.

Olivia adjusting our paper geometrical models professionally B )

The models with poor lighting/ haven't set the aperture.

Lighting improved! Setting the camera mode to black and white also helps show the contrast in values in the picture.

Off-white balance!

This preset mode is too light for this setting.

Without the B&W mode: green and purple appeared!

B&W makes it a lot more professional and concentrated in value.


It looked green when I put a blue fluorescent light setting in the camera. But it's bewitching!

Orange and blue.

One of the lighting equipment which looks like a laser.

We then hung our paper sculptures on the rod and looked together into manipulating lighting and casting colours in different angles, and their relationship with the background.

This has two light sources with one being orange, which creates a dramatic effect.

It's interesting that having a white background doesn't guarantee a perfectly white background: it also needs the proper lighting to light the background.

The result!
Comments
Post a Comment